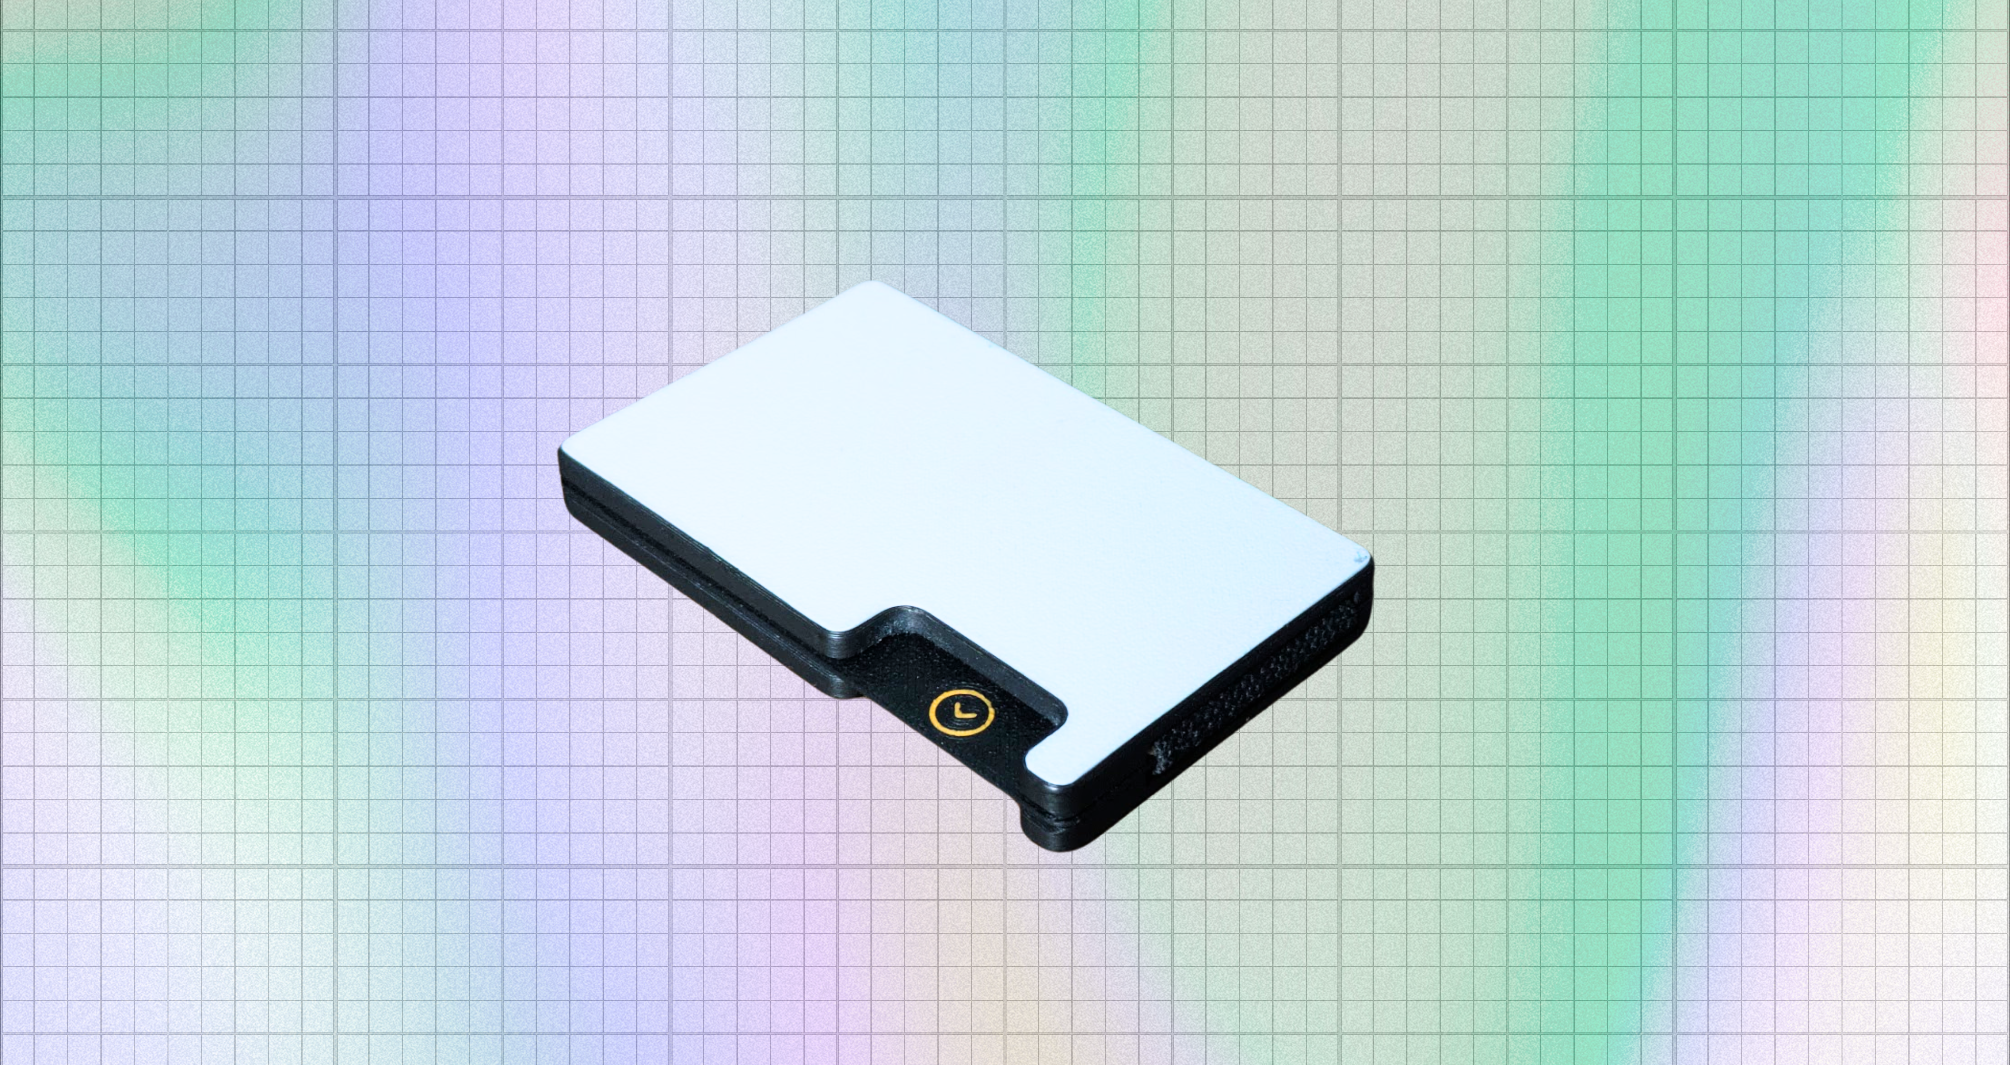
The Best Open Source Wallet
Tired of carrying a bulky wallet? Look no further! This wallet is the best open-source wallet you can find. It’s designed to be as compact as possible while still being printable on entry-level 3D printers. Its sleek and customizable design makes it the perfect wallet for anyone. It securely holds between 1 and 12 cards with no rattle, thanks to the internal elastic. Available for download on Printables, where you can find STEP and 3MF files for easy slicing. I hope you enjoy it as much as I do and take the time to customize it to your exact needs.
First Layer Multi Material
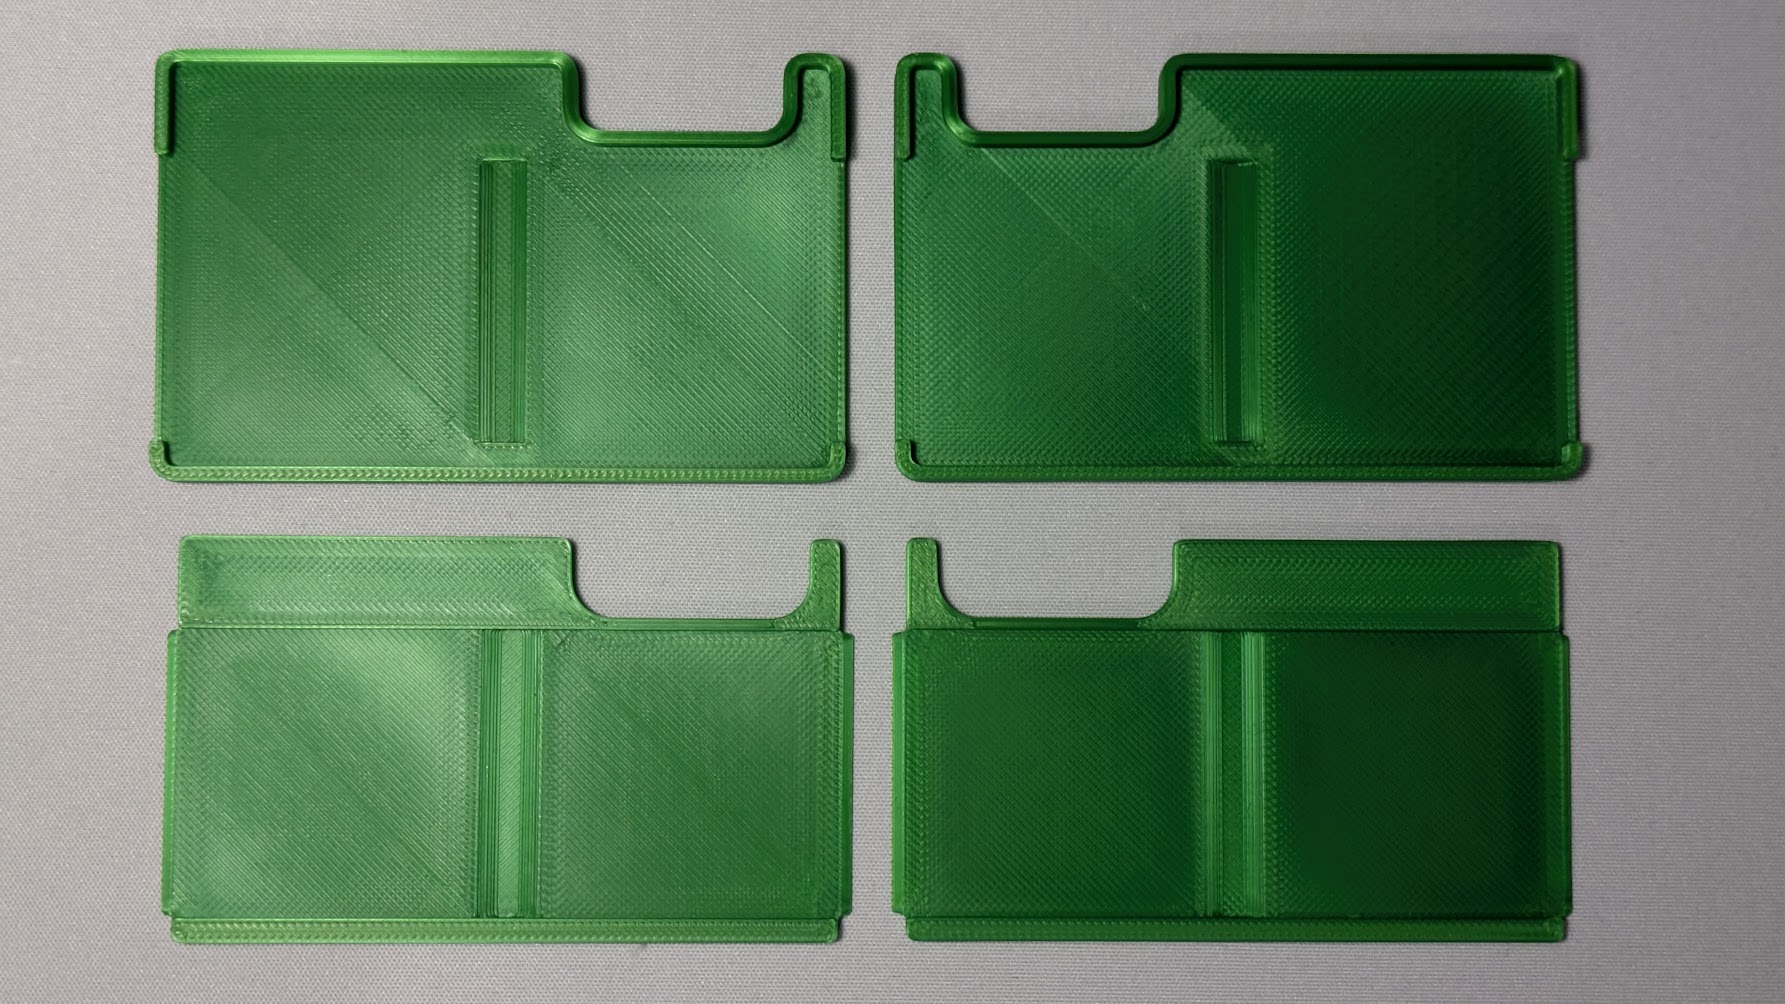
 The outward and inward-facing first layers can be printed in multiple colors to give the wallet a unique look. Print your name or logo on the front for a personal touch, or add contact information on the back for easy return if lost. Let your imagination run wild!
 Build and Assembly
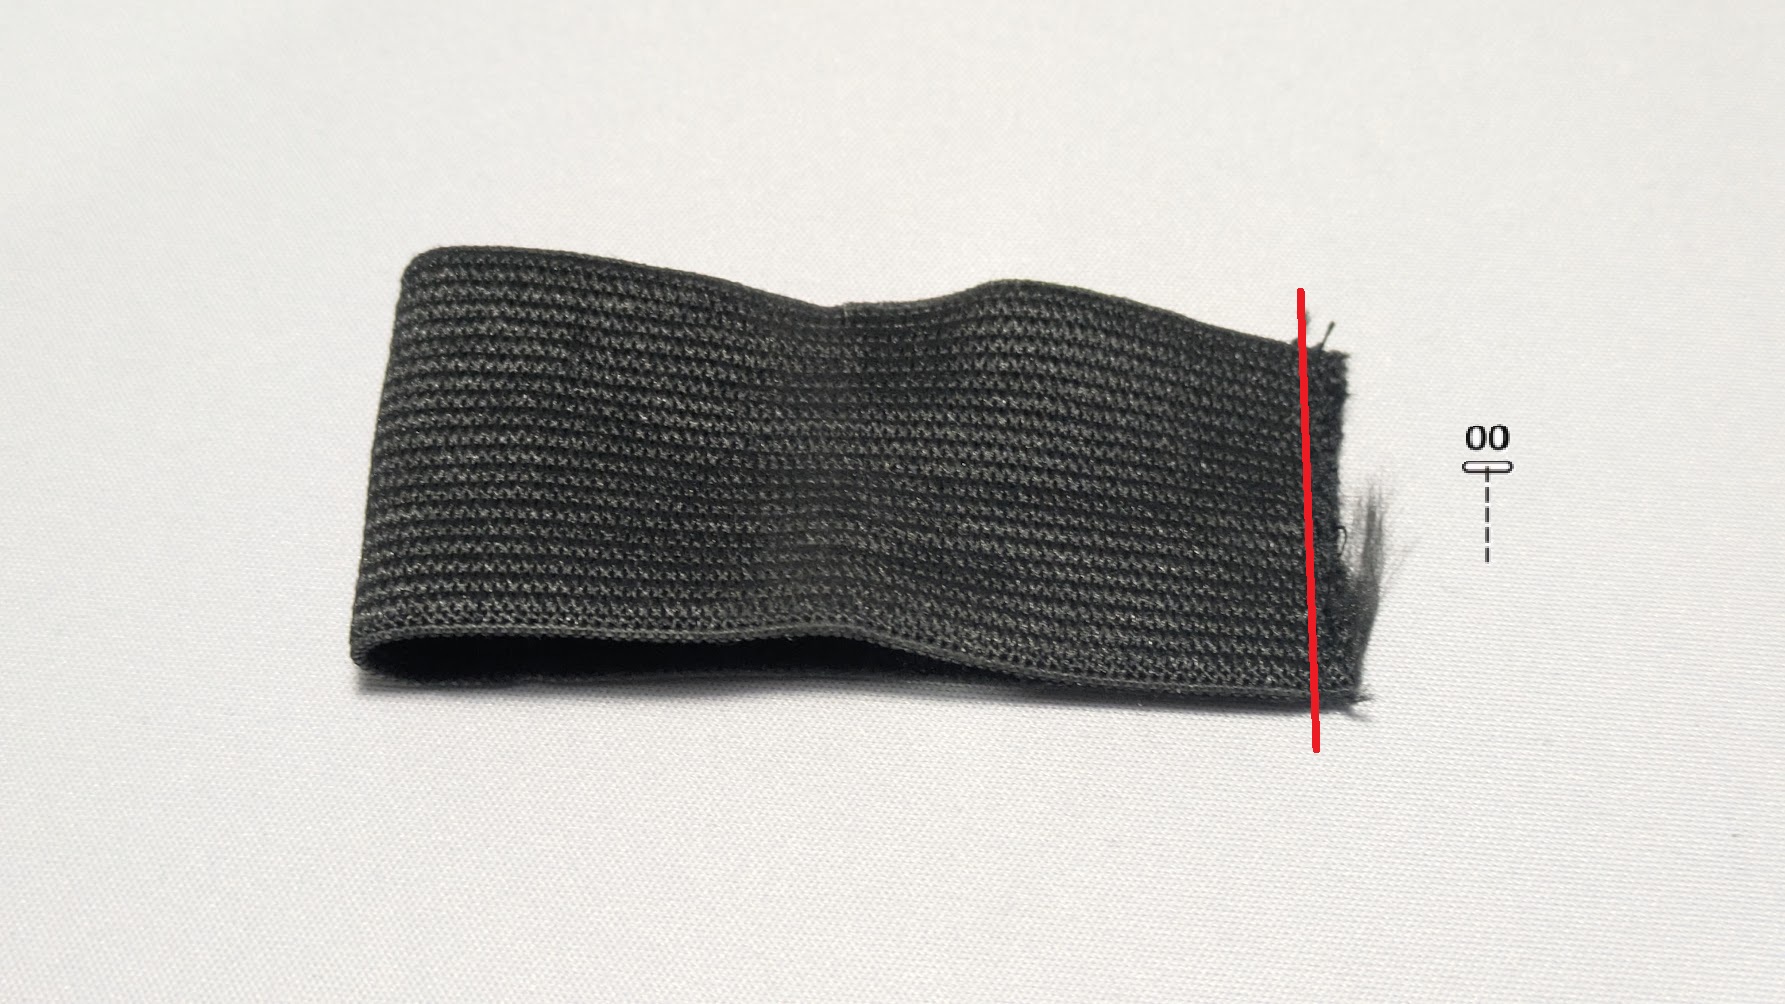
The build requires a fabric elastic band and a sewing machine. The elastic is sewn as shown below. Make sure to be thorough with the sewing, as the fabric elastic is critical to the wallet’s functionality.
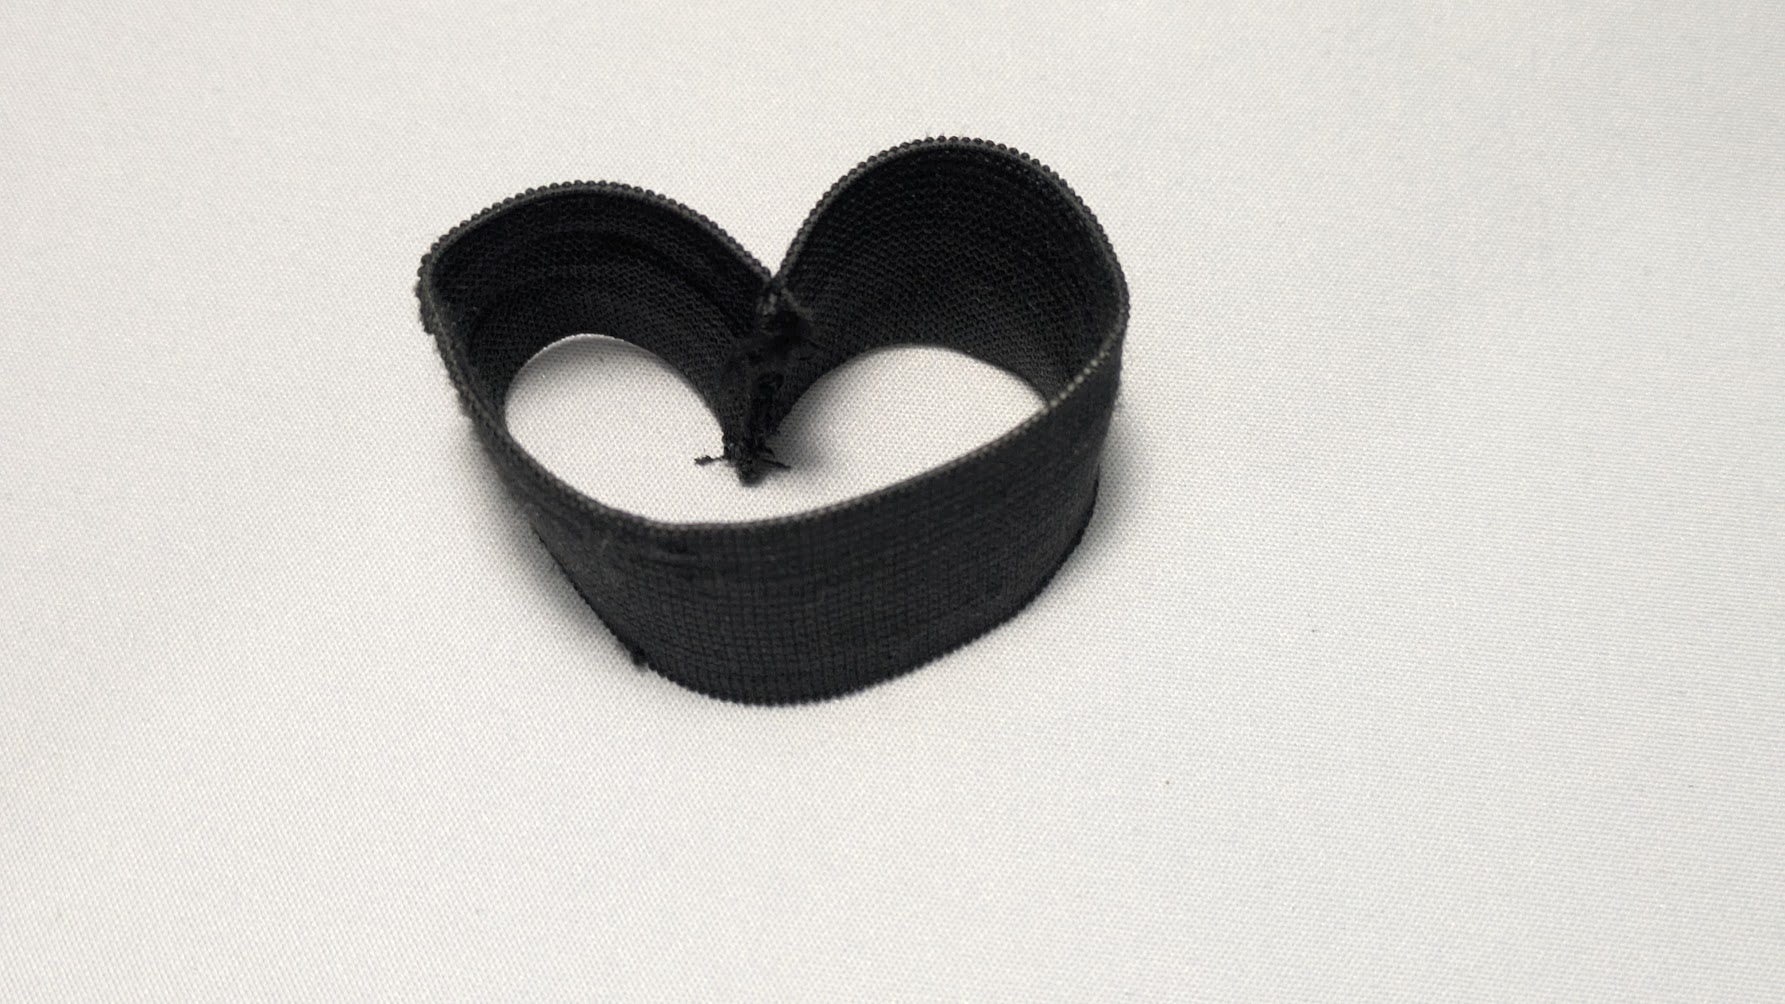
Then, flip it inside out. If you sewed with some margin, now is the time to cut the excess fabric. Be very careful not to cut the sewing threads, as this will cause the wallet to fall apart.
Once the parts are printed and the elastic is sewn, it's time to assemble the wallet.
Place the elastic around the outer part of the wallet like so. Ensure the elastic is not twisted, is folded correctly, and that the seam is inside the designated slot in the casing.
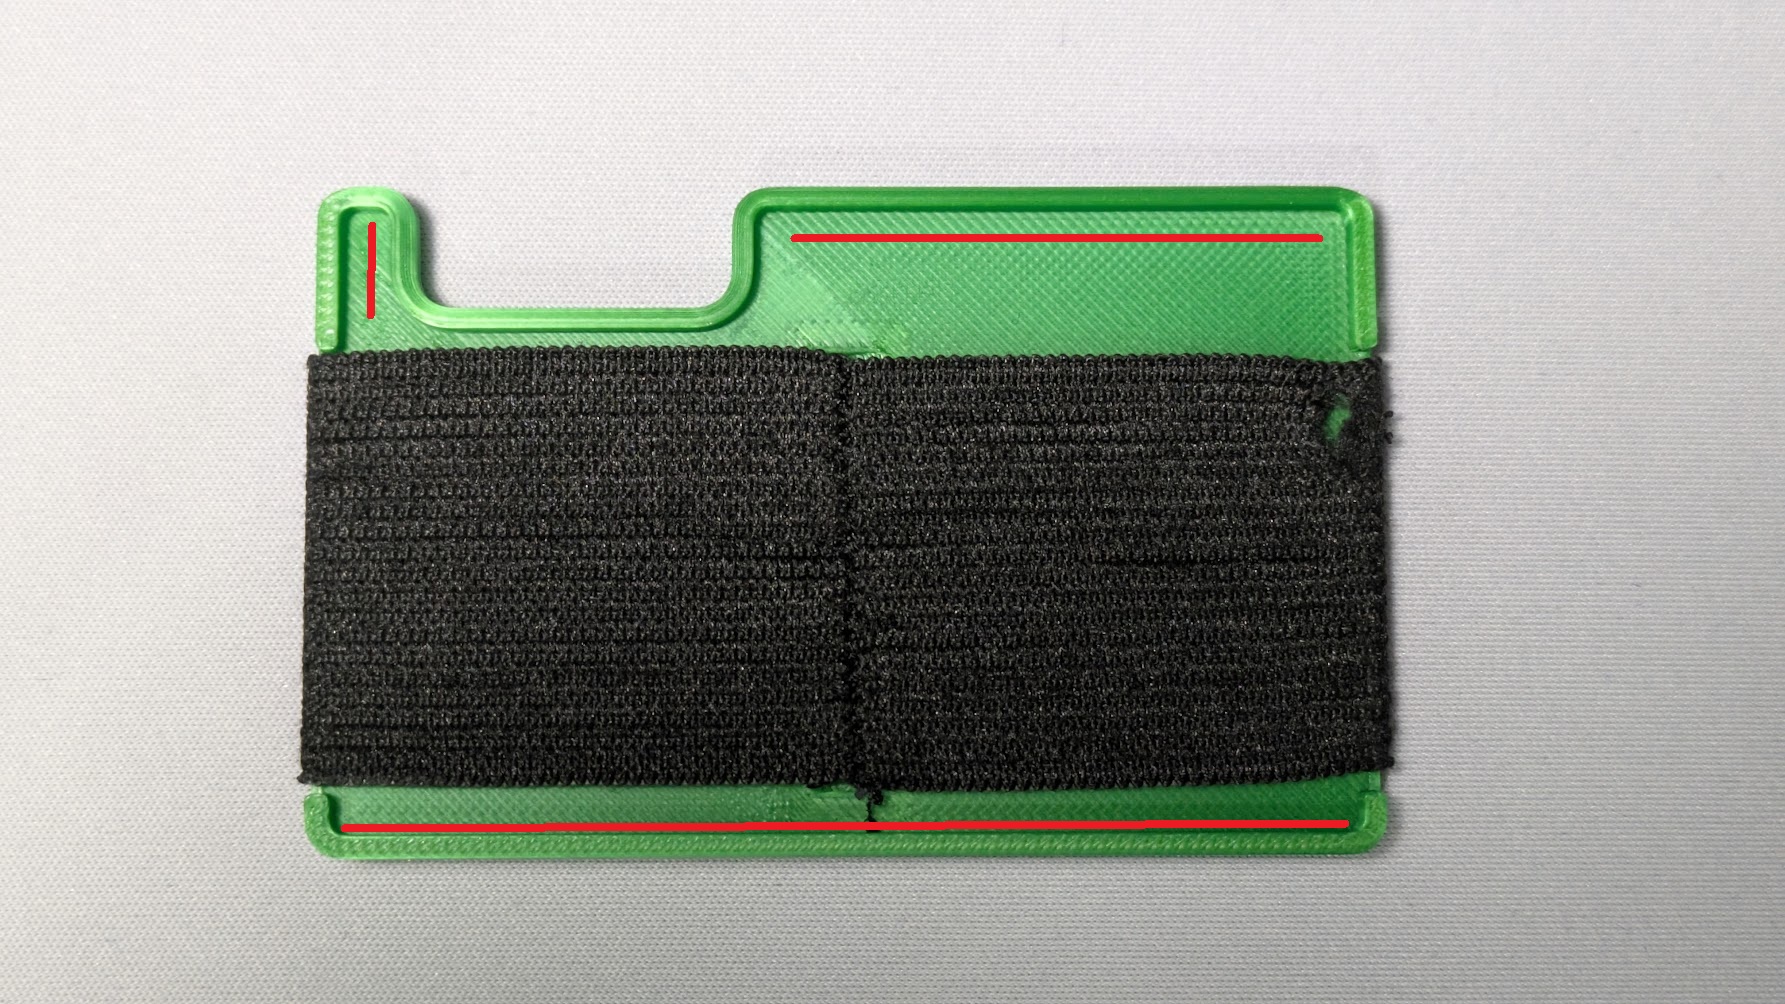
Apply superglue along the red markings in the picture above, then place the inside part of the wallet on top of the outer part. Apply firm pressure to ensure the glue bonds well. Let it dry for at least 10 minutes. Now, you should have something that looks like this:

We are now halfway done! Repeat the steps above, but this time sandwich the inner part of the other side between the elastic. It should look like this:

Now, glue the outer part of the wallet by following the glue markings in the picture above. Then, place the outer part of the wallet on top of the inner part. Apply firm pressure to ensure the glue sticks. Let it dry for at least 10 minutes before use. Now, you should have a fully assembled wallet—congratulations! You can now start using it and show it off to your friends.
If you have any questions or need help with assembly, feel free to contact me.